Notes
AndBible allows you to add personal notes to any bookmark or study pad.
Creating Notes
Notes can be created in a few different ways. When creating a note, changes are saved automatically.
Add a note from the verse action dialog:
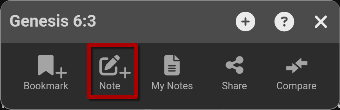
Click a verse to open the verse action dialog.
Click the Note button to add a note.
This will automatically create a new bookmark with the label: ‘Unlabeled’.
Add a note to an existing bookmark:
Locate the bookmark where you would like to add a note.
Click the bookmark to display the verse action dialog.
Click the Note button to add a note to the bookmark.
Add a note to a new bookmark:
After selecting labels for your bookmark you will see the bookmark dialog.
Click the pencil icon at the top right of the bookmark dialog to add a note to the bookmark.
Add a note to a study pad:
Notes can be added to a study pad. These notes will not be visible in the document and will only be visible on the study pad.
Open a study pad.
At the bottom of the study pad (or in any of the three-dot menus) click the (+) icon to add a note.
This note will not be linked to a specific document or verse. The note can be re-located in the study pad by clicking the three-dot menu next to the note and dragging the up/down arrows to the position in the study pad where you would like to locate the note.

Viewing notes
Viewing an individual note:
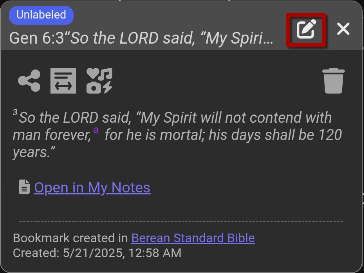
Once a note has been added to a bookmark, a note icon will be displayed at the end of the bookmark in the document text. To view the note, click the note icon.
Alternatively, click the bookmark and then click the note icon in the bookmark that is displayed in the verse action dialog.
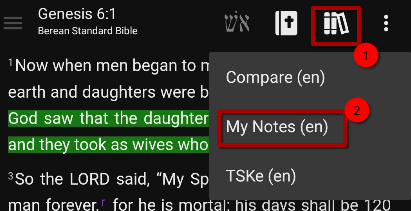
Viewing notes as a commentary:
To view all notes for the active Bible chapter, open the My Notes “document” from the books menu:
Viewing all notes:
To view and search all notes, open the Bookmark list from the top left main menu (☰).
Editing a note
To edit a note, simply view a note and click into the note to start editing. When editing a note, changes are saved automatically.
Notes support rich formatting. AndBible offers two editor types: an HTML editor and a Markdown editor. You can choose which editor is used for new notes in the settings.
Choosing the Editor Format
From the top left main menu (☰), click
Settings.Under the notes settings, find
Format for new bookmark notes.Select either HTML or Markdown.
This setting applies to newly created notes and study pad entries. Existing notes keep the format they were created with.
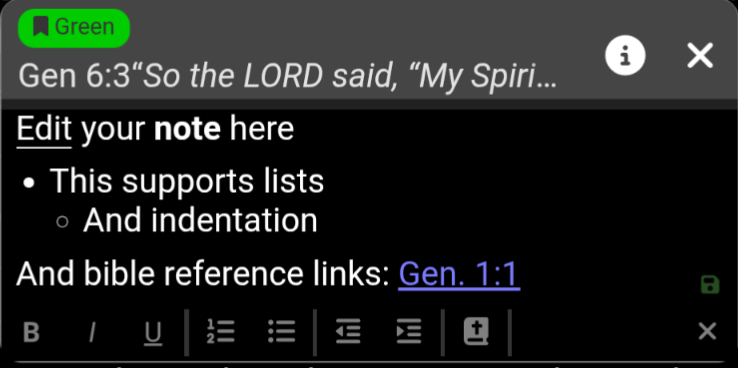
HTML Editor
The HTML editor provides a toolbar with standard formatting options:
Bold, Italic, Underline
Ordered and unordered lists
Indentation (increase / decrease)
Bible reference link insertion
To add a Bible reference link:
Click the Bible icon and type a Bible reference.
Alternatively, you can click the Bible icon and click the “pointing hand” icon to use the verse picker to choose the verse you want to link to.
Markdown Editor
The Markdown editor lets you write notes using Markdown syntax. It provides a formatting toolbar and a live text editing area.
The toolbar includes:
Heading selector (H1–H3)
Bold, Italic, Underline
Ordered and unordered lists
Indentation (increase / decrease)
Undo / Redo
Bible reference link insertion
The editor also supports these conveniences:
Auto-list continuation: pressing Enter on a list item creates the next item automatically.
Auto-save: changes are saved automatically after a short delay.
Keyboard shortcuts: Ctrl+Z for undo, Ctrl+Y (or Ctrl+Shift+Z) for redo, Escape to close the editor.